I once had a cat use her litter box and then come sit on a student’s research paper. I drew a little purple arrow to the spot and wrote “Sorry about that.” Part of me thought, Well, that’s what it is anyway, so branding it seems fitting.
Adolescents’ research papers are usually more than terrible. They are plagiarized in fourteen different ways, and we spend a lot of time talking out loud to the students while we grade. (You know you talk to them. Don’t act like you don’t.)
So, what can we do about that? I have a theory, one that I’ve fleshed out for 21 years in the classroom.
WE CAN TEACH THE RESEARCH PROCESS TO MASTERY.
A student does not get to move on to any step of the research process until he or she has demonstrated proficiency.
I’m not gonna lie: This skill set is hard to teach and hard to master. I survive the grading of the end product because I lived by this philosophy all during the creation of it: A student does not get to move on to any step of the research process until he or she has demonstrated proficiency. For example, Javon doesn’t get to start taking notes until he has demonstrated proficiency at both paraphrasing and summarizing. Sierra can’t turn in source cards until she has an approved preliminary outline. If I can stop the bleeding where it starts, then the research paper I receive as a demonstration of their learning might not be so bad.
INSTRUCTION AND PROFICIENCY

I teach the research process in at least seventeen discreet lessons. Some take several days to facilitate, and some are mini lessons on media center research days. Here’s the order I use and the handouts I distribute as hard copies or Google Slides:
Lesson 1: Overview of the Research Process
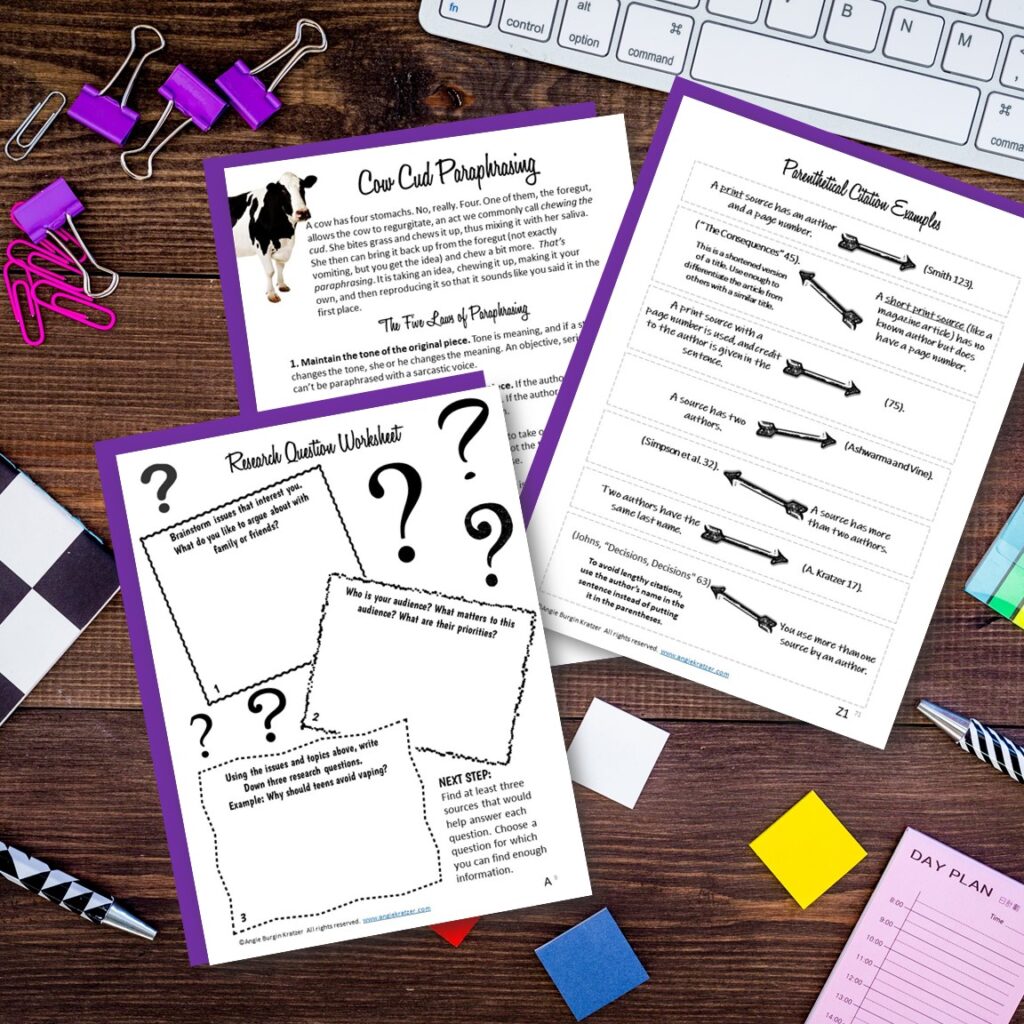
Student Handout A: Research Question Worksheet
Student Handout B: Researched Persuasive Speech
Student Handout C: Research Due Dates
Lesson 2: Source Cards
Student Handout D: Anatomy of a Source Card
Student Handout E: MLA 8 Format Scavenger Hunt
Student Handout F: Source Card Practice
Lesson 3: Source Evaluation—Credibility and Bias
Student Handout G: Source Reliability Terms to Know
Student Handout H: Headline Scavenger Hunt
Lesson 4: Source Evaluation—Loaded Language and Faulty Reasoning
Student Handout I: Heart, Mind, and Soul—The Persuasive Appeals
Student Handout J: Logical Fallacies Discovery Organizer
Student Handout K: Source Evaluation Checklist
Lesson 5: The Preliminary Outline
Student Handout L: The Preliminary Outline
Lesson 6: Paraphrasing
Student Handout M: Two Doomed-to-Fail Approaches
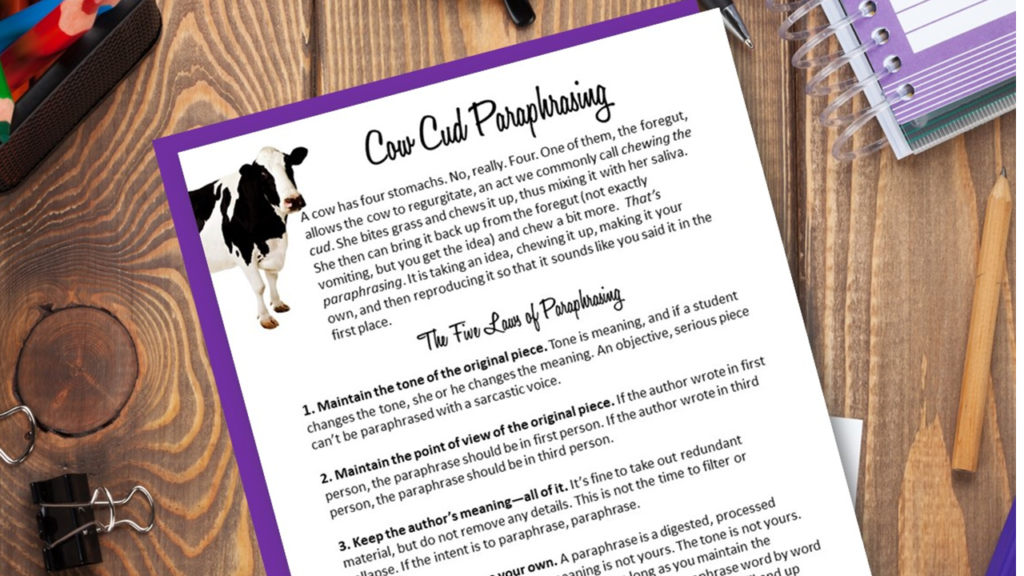
Student Handout N: Cow Cud Paraphrasing
Student Handout O: Paraphrasing Practice #1
Student Handout P: Tricky Passages—Technical Language (Practice #2)
Student Handout Q: Tricky Passages—Metaphorical Language (Practice #3)
Student Handout R: Paraphrasing Independent Practice (Proficiency Required)
Lesson 7: Summarizing
Student Handout S: The Ramen Noodle Summary
Student Handout T: Your Turn! Practice #1
Student Handout U: Your Turn! Practice #2 (Proficiency Required)
Lesson 8: Note Cards
Student Handout V: Anatomy of a Note Card
Student Handout W: Note Card Practice
Lesson 9: Skill Application
Lesson 10: The Thesis Statement (Mini Lesson)
Lesson 11: The Final Outline (Mini Lesson)
Student Handout X: Final Outline Model
Lesson 12: Parenthetical Citation
Student Handout Y: Parenthetical Citation and the Works Cited Page
Student Handout Z: Parenthetical Citation Examples
Student Handout AA: The Commandments of MLA Citation
Lesson 13: Embedding Text
Student Handout BB: Five Ways to Embed Text
Student Handout CC: Source Use Scavenger Hunt
Lesson 14: Drafting the Research Paper/Speech
Student Handout DD: MLA Format
Lesson 15: Peer Editing
Student Handout EE: Student Model
Student Handouts FF-JJ: Team Jobs Descriptions
Lesson 16: Persuasive Public Speaking
Student Handout KK: Active Viewing Guide for “How to Speak so that People Want to Listen
Student Handout LL: Presentation Requirements and Tips
Lesson 17: Presentations
Teacher Presentation Rubric (MM)
Student Handout NN: Student Presentation Rubric
Student Handout OO: Research Paper Rubric
THE RESEARCH PROCESS FOR EVERY STUDENT
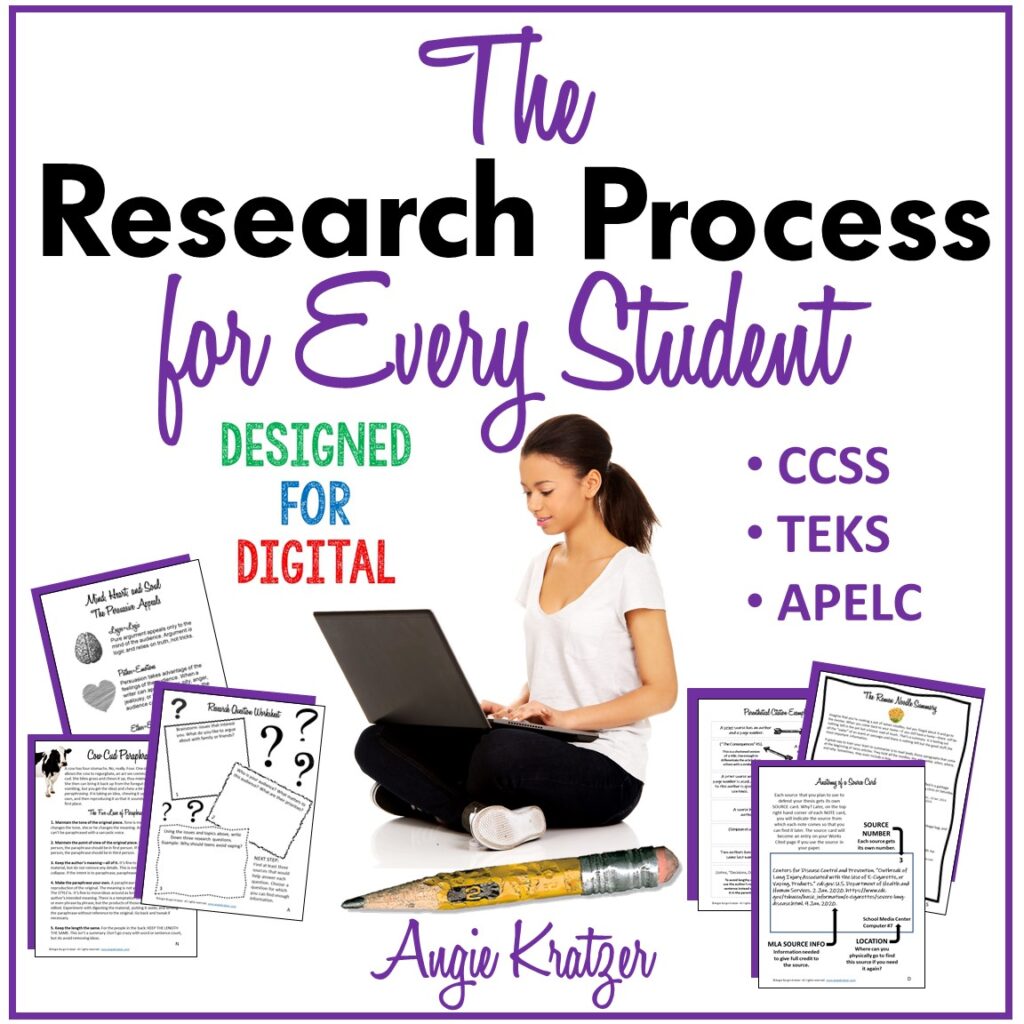
I recently got all these lesson ideas and handouts packaged together as a tidy 97-page unit in both PDF and Google Slides. Although I’m a firm believer that physical note cards are still the way to go (especially for tactile learners), some students can manage digital note taking, so I have source and note card templates for them on Google Slides.
You can learn more about the unit here.
This two-minute video walks through the resource.
Want a little sample of the unit? Grab The 5 Laws of Paraphrasing HERE.
WHEN AND HOW TO REQUIRE PROFICIENCY
It’s helpful to keep some sort of spreadsheet of all the skill sets students need to to master. For example, the vertical set might have all the student names, and the horizontal set might list something like research question, preliminary outline, source card practice, source card set 1, paraphrasing practice, summarizing practice, note card set 1, etc. As students demonstrate proficiency, the teacher indicates gives credit on the chart. Blanks are obvious, and the trick is to keep students from hopping ahead and putting to use skills they don’t actually have. Practice makes permanent, after all.
Lesson 6 is the real kicker. We all know that students are really bad at paraphrasing, and their teachers are too (as demonstrated by almost every one who comes to my workshops). We don’t come out of the womb knowing how to paraphrase. We can’t do it unless someone teaches us the skills, so I hover over Lesson 6 until each student has demonstrated proficiency. Once a student earns a grade of 80 on Student Handout U, she gets to move on and start taking notes. I have some students who prefer to take all their notes as direct quotations, but that just puts off the inevitable. The painful part is that some students have to do Student Handout U over and over and over.
Here’s the gist of it all: Teachers must be deliberate about the order of the research process, both for instruction and application. Since it is a stacked set of skills, we want to build that stack on a solid foundation, not set our students up for failure, which will inevitably end in a Jenga-like research paper.